Overview:
In this small learning guide, we will:
- Deploy a non-containerized Node,js application to the cloud.
- Package the Node.js app to be run by AWS Elastic Beanstalk.
- Create all the infrastructure needed for Elastic Beanstalk using CDK
- Update a non-containerized deployment
Requirements :
- We need an AWS free tier account. Follow this blog, to setup Aws Free Tier.
- Also the CDK tool installed: Visit the Get Started with AWS CDK guide to learn more or guide2.
Step 1: Build the Node.js Application
-
For that you don't have to worry, I developed a small
poemweb Application based on Node.js that serves an HTML file and has a simple REST API. -
The application is available on my gitHub repo at Node App.
-
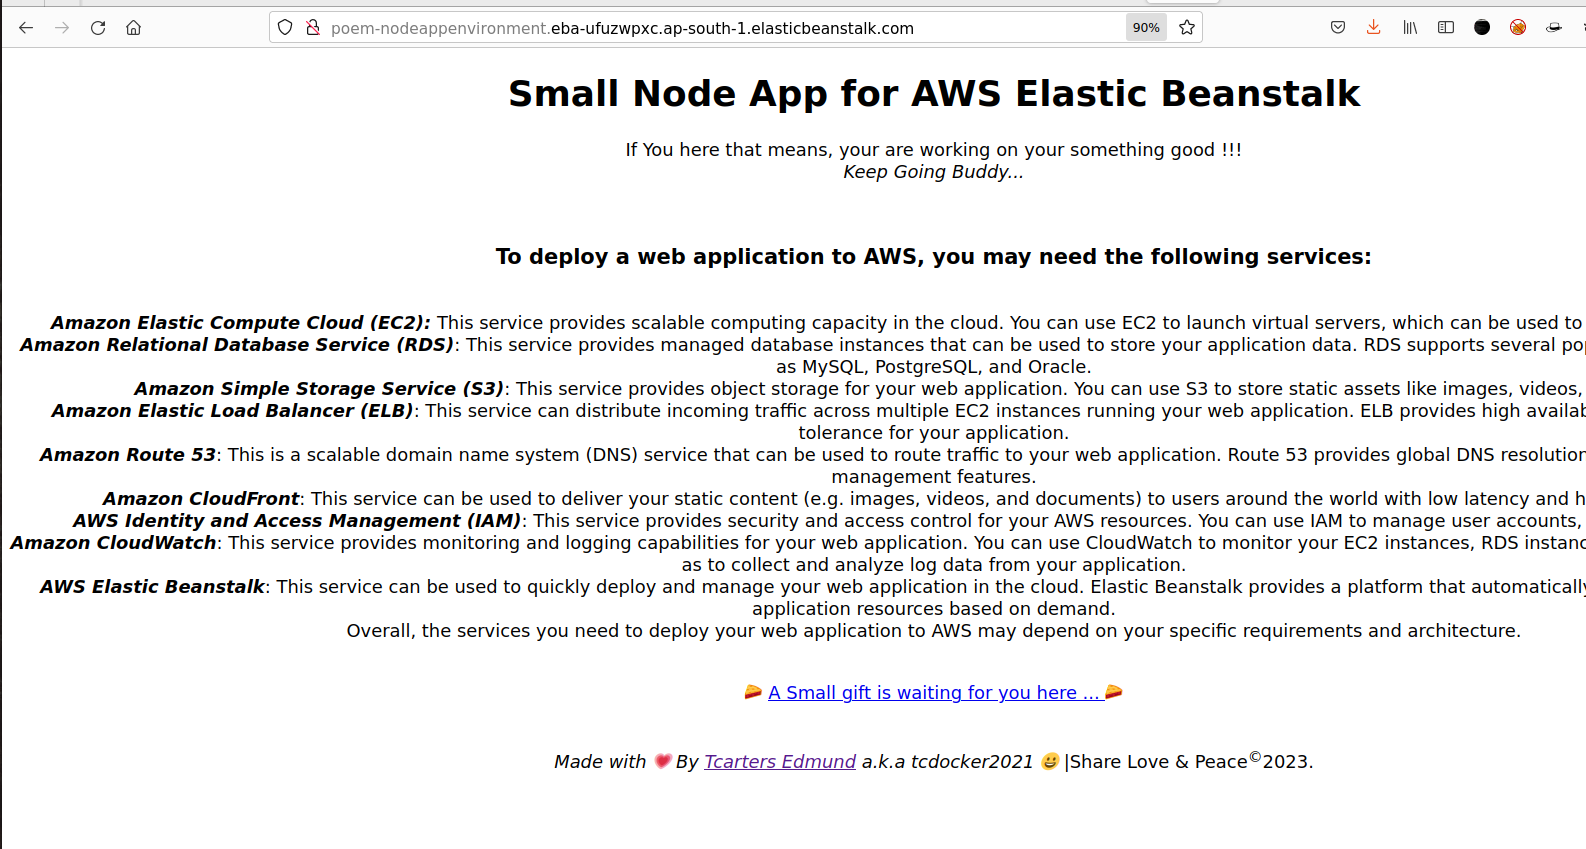
Below is the sample view of the application running on local for test.
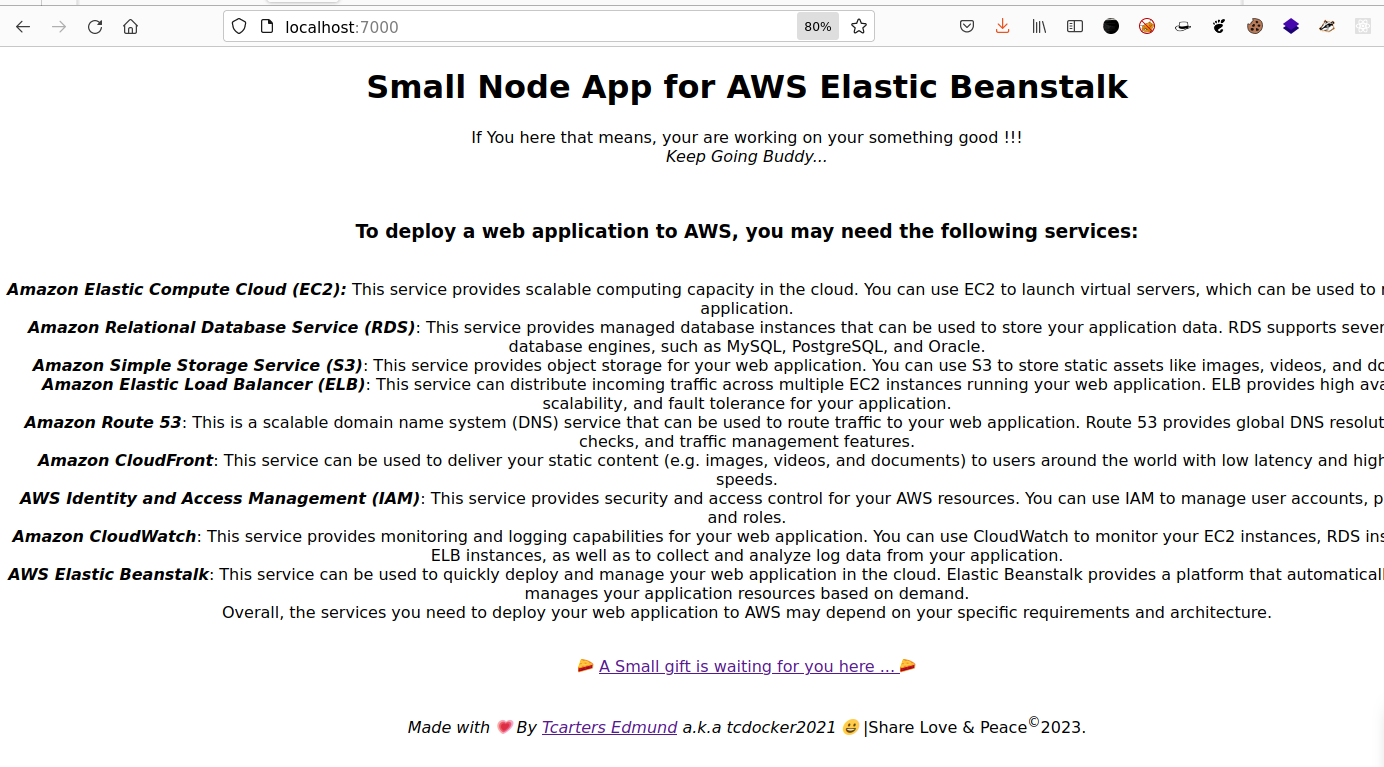
-
In this README.md of the repository I explained how to run and test it.
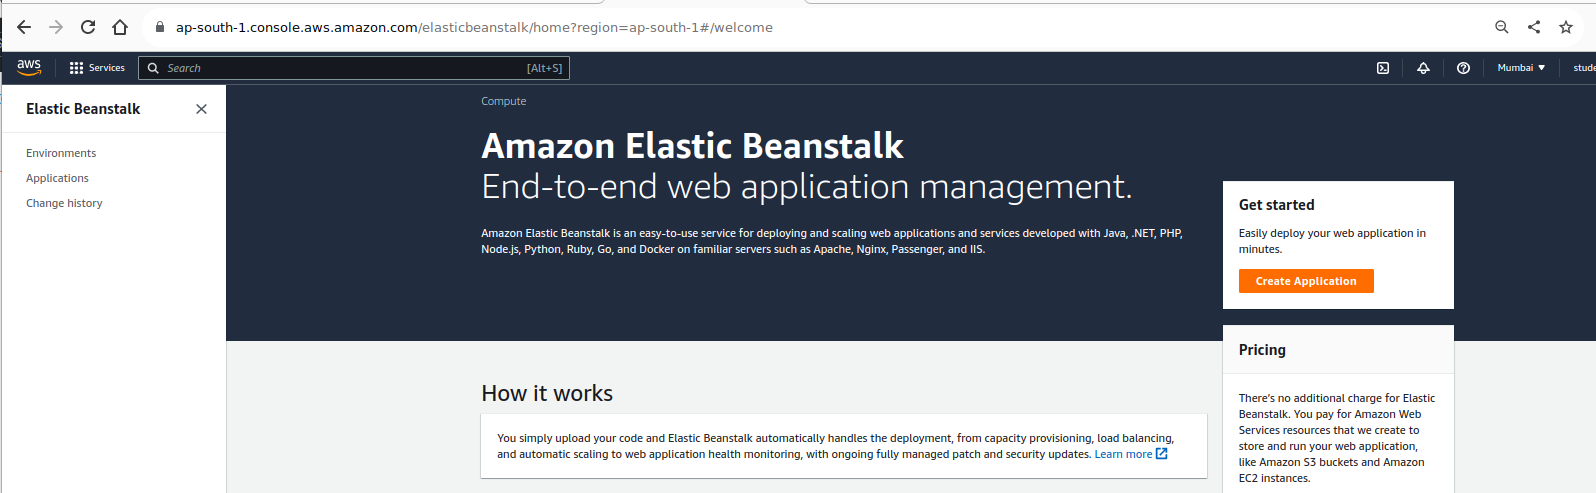
Step 2: Using AWS CDK to Create the Infrastructure
- Here we will build a CDK application that will create all the necessary infrastructure to deploy the Node.js web app using AWS Elastic Beanstalk.
2.1 : Initialize the CDK application
- First we set up a new directory and move to that directory.
mkdir aws-cdk-infra-ElasticBeanstalk && cd aws-cdk-infra-ElasticBeanstalk
- Initialize the CDK application in our the previous created directory, in which we will create the infrastructure.
sudo npm install -g aws-cdk  ## Install aws cdk tool if not installed earlier
cdk --version
cdk init app --language typescript
2.2 : Create the code for the resource stack
-
According to AWS documentation, A resource stack is a set of cloud infrastructure resources—all AWS resources in this case—that will be provisioned into a specific account.
-
In this resource stack, we are going to create these resources:
- S3 Assets: This helps you to upload your zipped application into S3 and will provide the CDK application a way to get the object location.
- Elastic Beanstalk App: A logical collection of Elastic Beanstalk components, including environments, versions, and environment configurations.
- Elastic Beanstalk App Version: A specific, labeled iteration of deployable code for a web application. An application version points to an Amazon S3 object that contains the deployable code, in this case, the zip file that you will be uploading to S3 using S3 Assets. Applications can have many versions and each application version is unique.
- Instance profile and role: A container for an AWS Identity and Access Management (IAM) role that you can use to pass role information to an Amazon EC2 instance when the instance starts.
- Elastic Beanstalk Environment: A collection of AWS resources running an application version. Each environment runs only one application version at a time.
-
All our code will be defined in the file aws-cdk-infra-ElasticBeanstalk/lib/aws-cdk-infra-elastic_beanstalk-stack.ts. First we start by uploading our zipped local code to S3.
// We import all our dependencies
import * as cdk from 'aws-cdk-lib';
import { Construct } from 'constructs';
import { Asset } from 'aws-cdk-lib/aws-s3-assets';
import { Bucket } from 'aws-cdk-lib/aws-s3';
import * as s3 from 'aws-cdk-lib/aws-s3';
import * as elasticbeanstalk from 'aws-cdk-lib/aws-elasticbeanstalk';
import * as iam from 'aws-cdk-lib/aws-iam';

export class AwsCdkInfraElasticBeanstalkStack extends cdk.Stack {
  constructor(scope: Construct, id: string, props?: cdk.StackProps) {
    super(scope, id, props);
  //Phase 1:  Construct an S3 asset from the ZIP located from directory up.
     const webAppZipArchive = new Asset(this, 'poem-WebAppZip', {
        path: `${__dirname}/../poem-NodeAppV2.zip`,
    } );

 // Phase 2: Create a ElasticBeanStalk app.
    const appName = 'poem-NodeApp'; //defining a Name for ELB App
    const app = new elasticbeanstalk.CfnApplication(this, 'Application', {
        applicationName: appName,
    });

 // Phase 3:  Create Elastic Beanstalk application version
    const appVersionProps = new elasticbeanstalk.CfnApplicationVersion(this, 'AppVersion', {
      applicationName: appName,
      sourceBundle: {
          s3Bucket: webAppZipArchive.s3BucketName,
          s3Key: webAppZipArchive.s3ObjectKey,
      },
      description: 'poem-NodeAppELB',
    }); // end appVersionProps
    // Make sure that Elastic Beanstalk app exists before creating an app version
    appVersionProps.addDependency(app);

 // Phase 4: Create role and instance profile
    const myRoleEc2 = new iam.Role(this, `${appName}-aws-elasticbeanstalk-ec2-role`, {
      assumedBy: new iam.ServicePrincipal('ec2.amazonaws.com'),
    }); // create a new role;
    const managedPolicy = iam.ManagedPolicy.fromAwsManagedPolicyName('AWSElasticBeanstalkWebTier')
    myRoleEc2.addManagedPolicy(managedPolicy); // attaching the defined policy
    const myProfileName = `${appName}-InstanceProfile`; // create profilename
    const instanceProfile = new iam.CfnInstanceProfile(this, myProfileName, {
      instanceProfileName: myProfileName,
      roles: [
          myRoleEc2.roleName
      ]
    });

// Phase 5: Configuring Some options which can be used for ELB Environment
    const optionSettingProperties: elasticbeanstalk.CfnEnvironment.OptionSettingProperty[] = [
      {
          namespace: 'aws:autoscaling:launchconfiguration',
          optionName: 'IamInstanceProfile',
          value: myProfileName,
      },
      {
          namespace: 'aws:autoscaling:asg',
          optionName: 'MinSize',
          value: '1',
      },
      {
          namespace: 'aws:autoscaling:asg',
          optionName: 'MaxSize',
          value: '1',
      },
      {
          namespace: 'aws:ec2:instances',
          optionName: 'InstanceTypes',
          value: 't2.micro',
      },
    ];

 // Create an Elastic Beanstalk environment to run the application
    const elbEnv = new elasticbeanstalk.CfnEnvironment(this, 'Environment', {
      environmentName: 'poem-NodeAppEnvironment',
      applicationName: app.applicationName || appName,
      solutionStackName: '64bit Amazon Linux 2 v5.8.0 running Node.js 18',
      optionSettings: optionSettingProperties,
      versionLabel: appVersionProps.ref,
    });

  }
}
- And that is all we need for the Cloudformation stack that will be created in the Cloud.
Step 3: Deploy the Web Application
3.1 : Package your Node.js application
-
Before running our code, we have to package our defined code mentioned in the Phase1 of the code. As mentioned earlier, the code is available in the GitHub so we have to clone it and zip necessary files. Normally in real production scenario, we should use a pipeline but let schedule it in a next project with AWS.
-
So after cloning the code we have to zip our code with only necessary files and specially the package.json file like :
zip poem-NodeAppV2.zip  app.js index.html package.json poem-generated.js
## Result:
adding: app.js (deflated 53%)
adding: index.html (deflated 61%)
adding: package.json (deflated 39%)
adding: poem-generated.js (deflated 47%)
- Now in our main working folder aws-cdk-infra-ElasticBeanstalk we should have our Node App zipped available.

3.2 : Bootstrap CDK in our account
- If first time we need to bootstrap our account by initializing our environment with AWS Account before building our application.
# Configure our AWS Account locally using aws credentials if not done with AWS CLI
aws configure

# Get Our AWS Account
aws sts get-caller-identity

#Display the default region
aws configure get region

## Bootstrap our AWS Account
cdk bootstrap aws://ACCOUNT-NUMBER-1/REGION-1
3.3 : Build and deploy our CDK application
- After we have packaged our Node.js application, placed it in the root of our development application directory, and bootstrapped our AWS account and Region, we are ready to build and deploy the CDK application.
- The first step is to build the CDK application.
npm run build
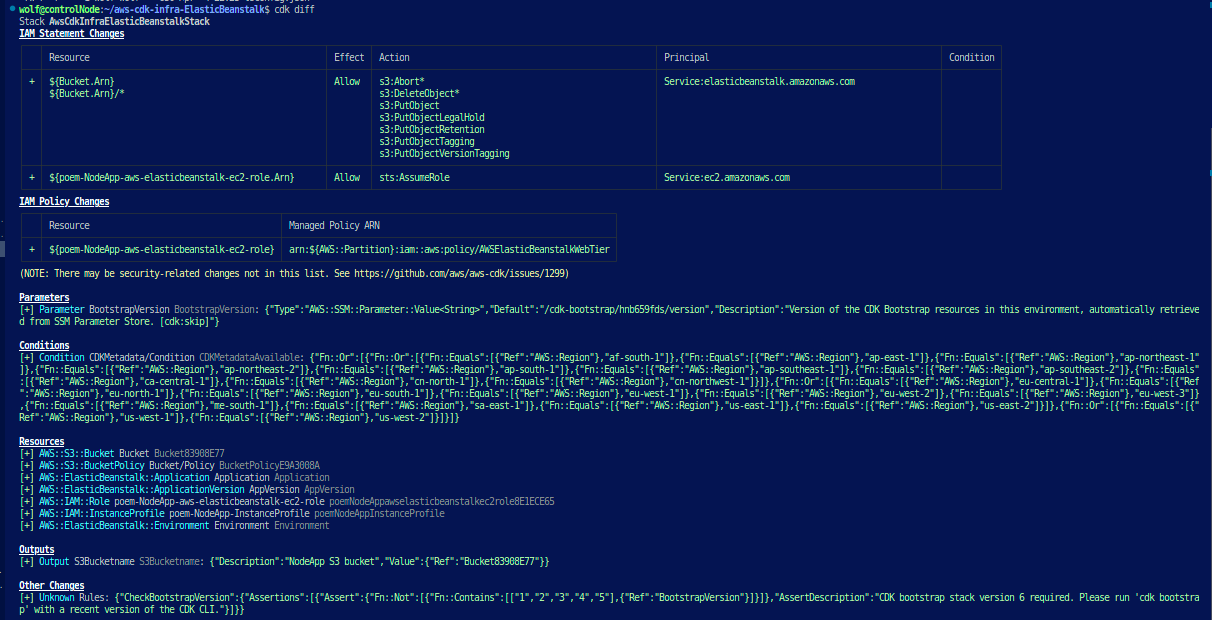
- We can run a diff to see all changes that will be applied before deployment
cdk diff
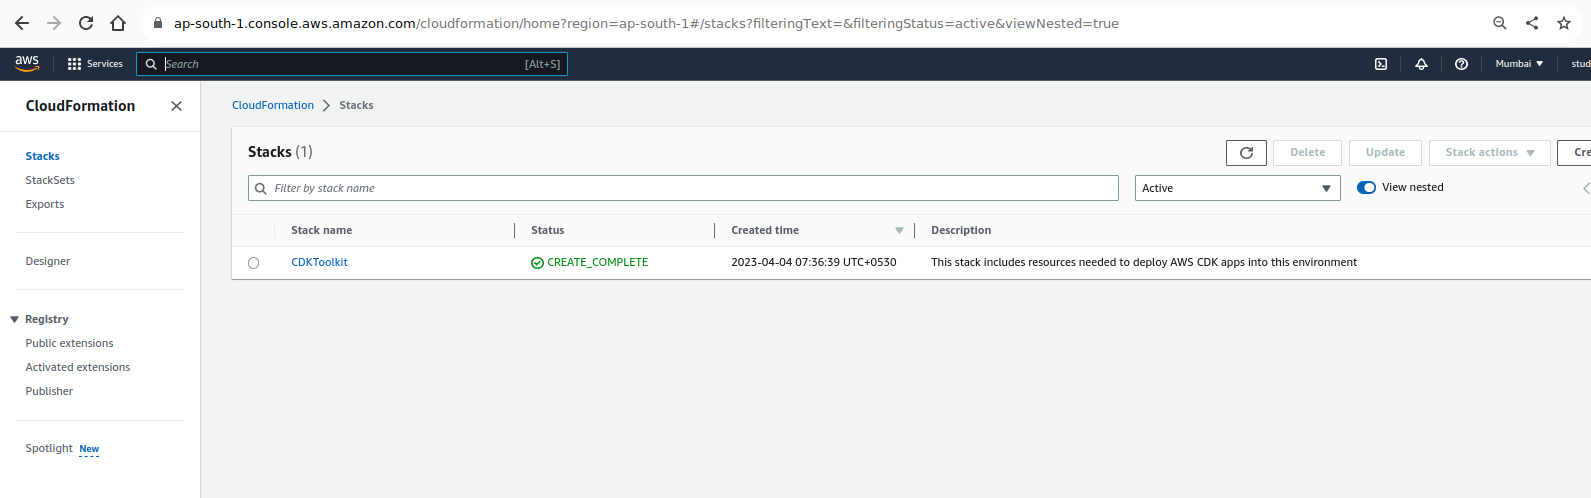
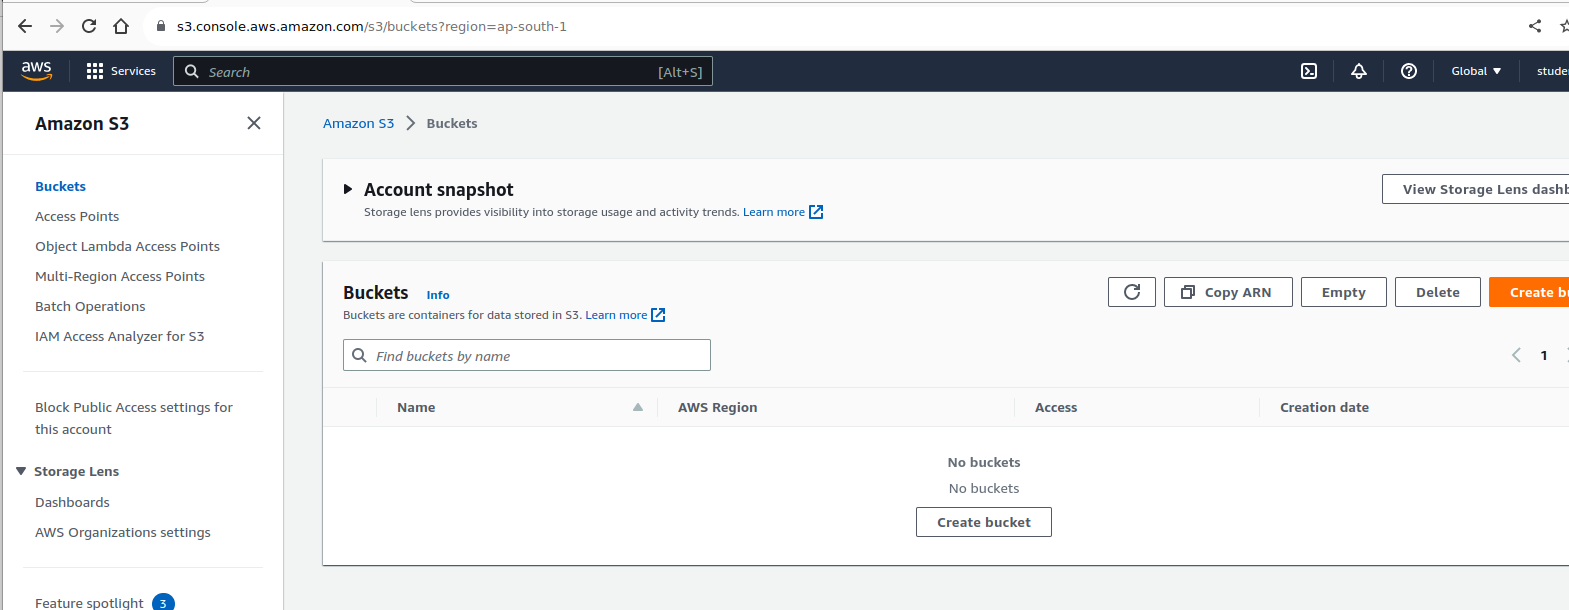
- Before deployment, we can see that nothing is yet configured in the Cloud:
- If there are no errors in our application, this will succeed. We can now deploy the CDK application in the cloud with:
cdk deploy
- Output :
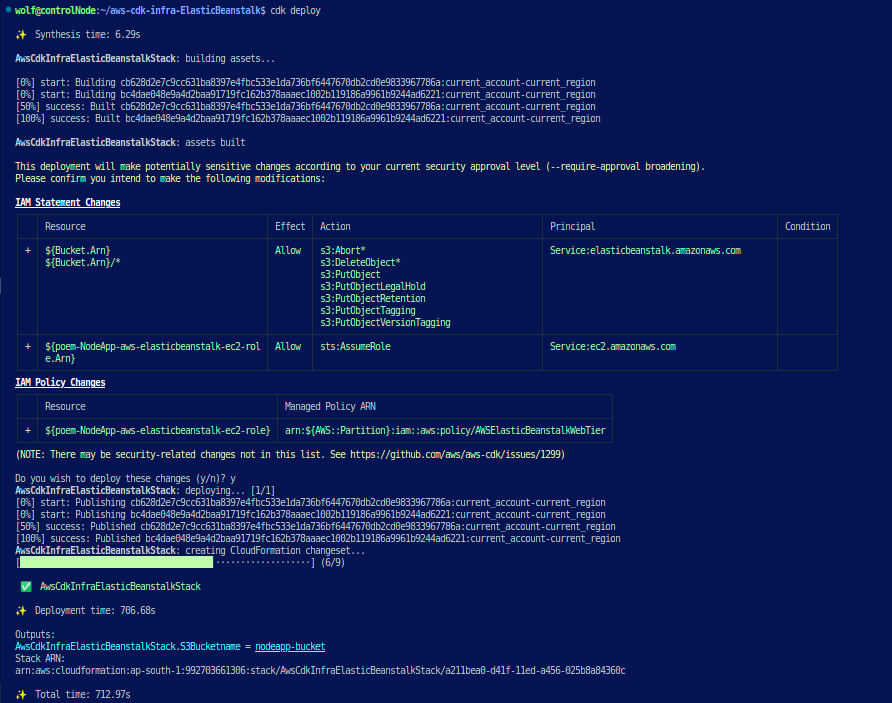
Step 4: Viewing your application in the cloud
-
Now we can logging graphically on AWS Console to view our application
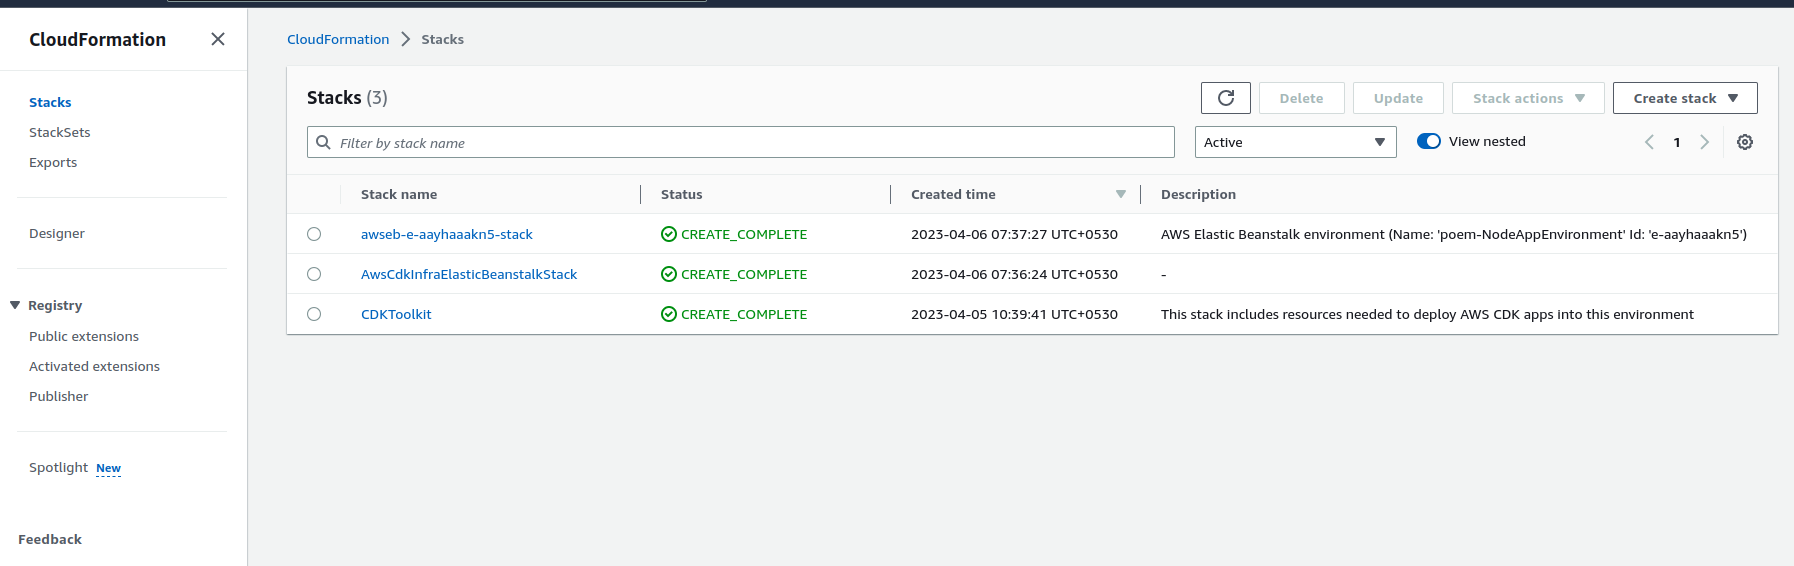
-
In the CloudFormation page, we can see a news stack was created by AWS CDK for the Elastic Beanstalk App.
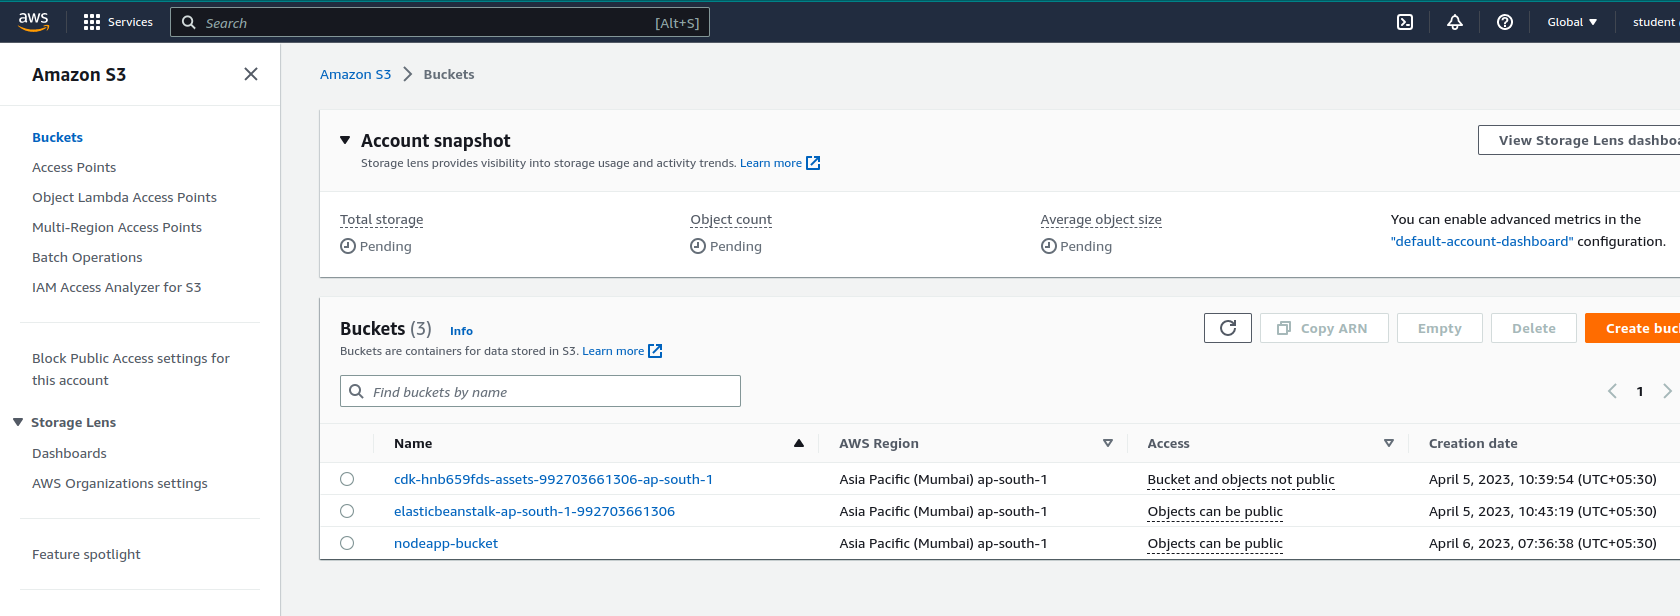
- Our Node App zipped was safely placed in the ELB S3 bucket.
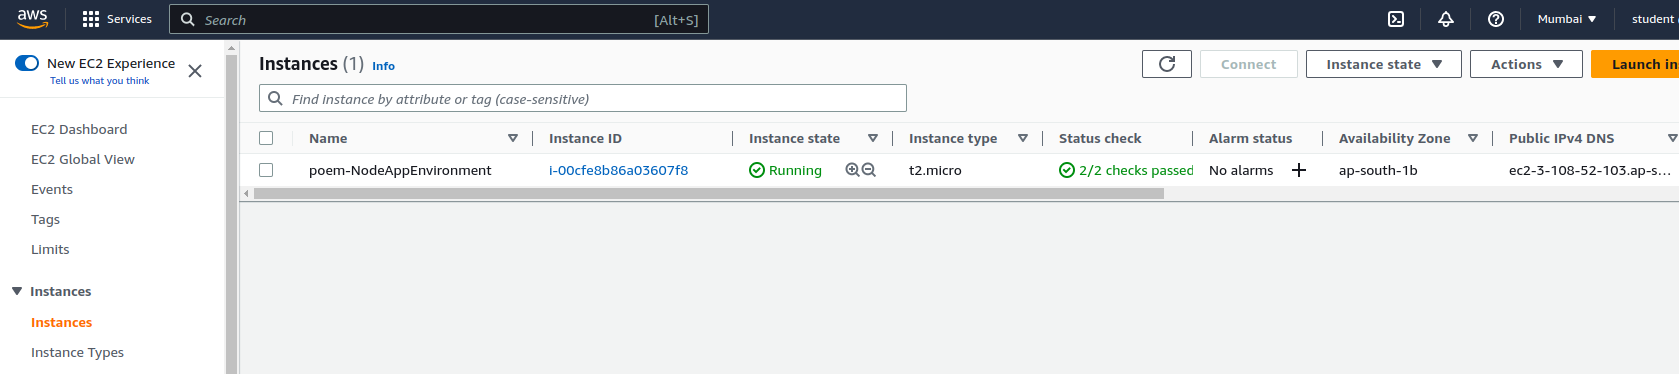
- Also a successful Ec2 running a Node.js App of ELB was created and running safely..
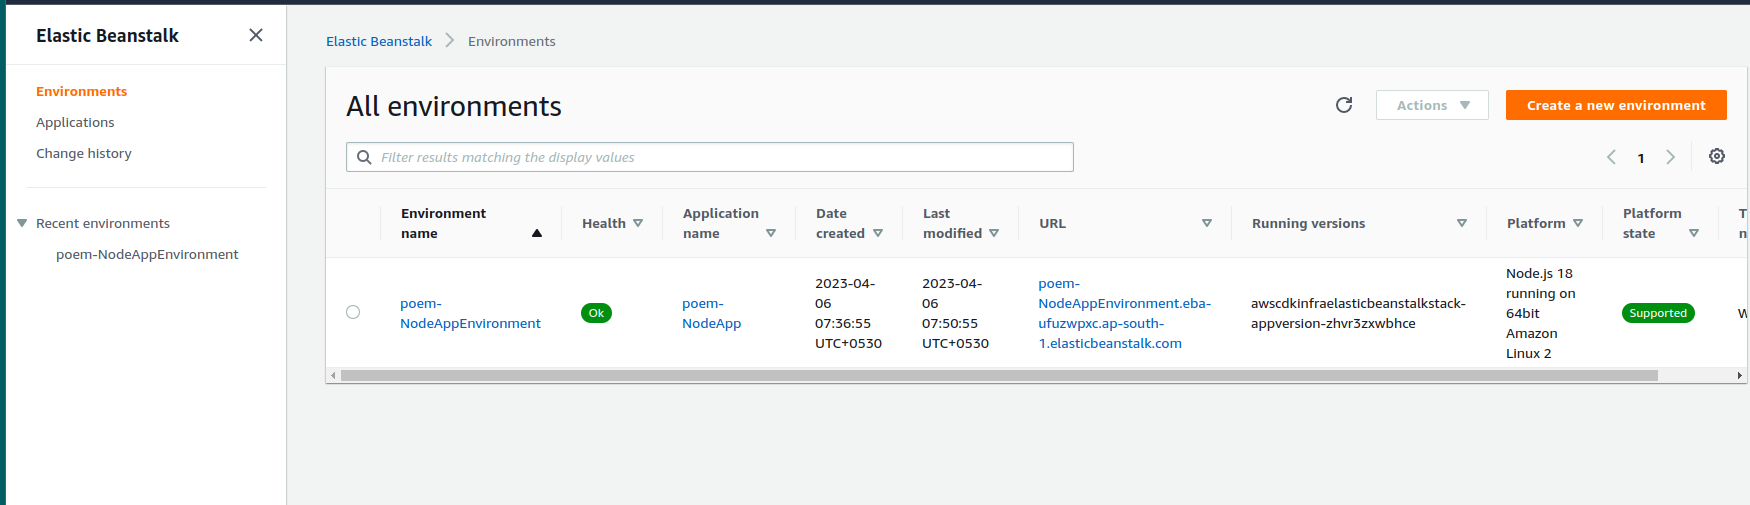
- An Elastic Beanstalk Application was created successfully in our AWS Account ..
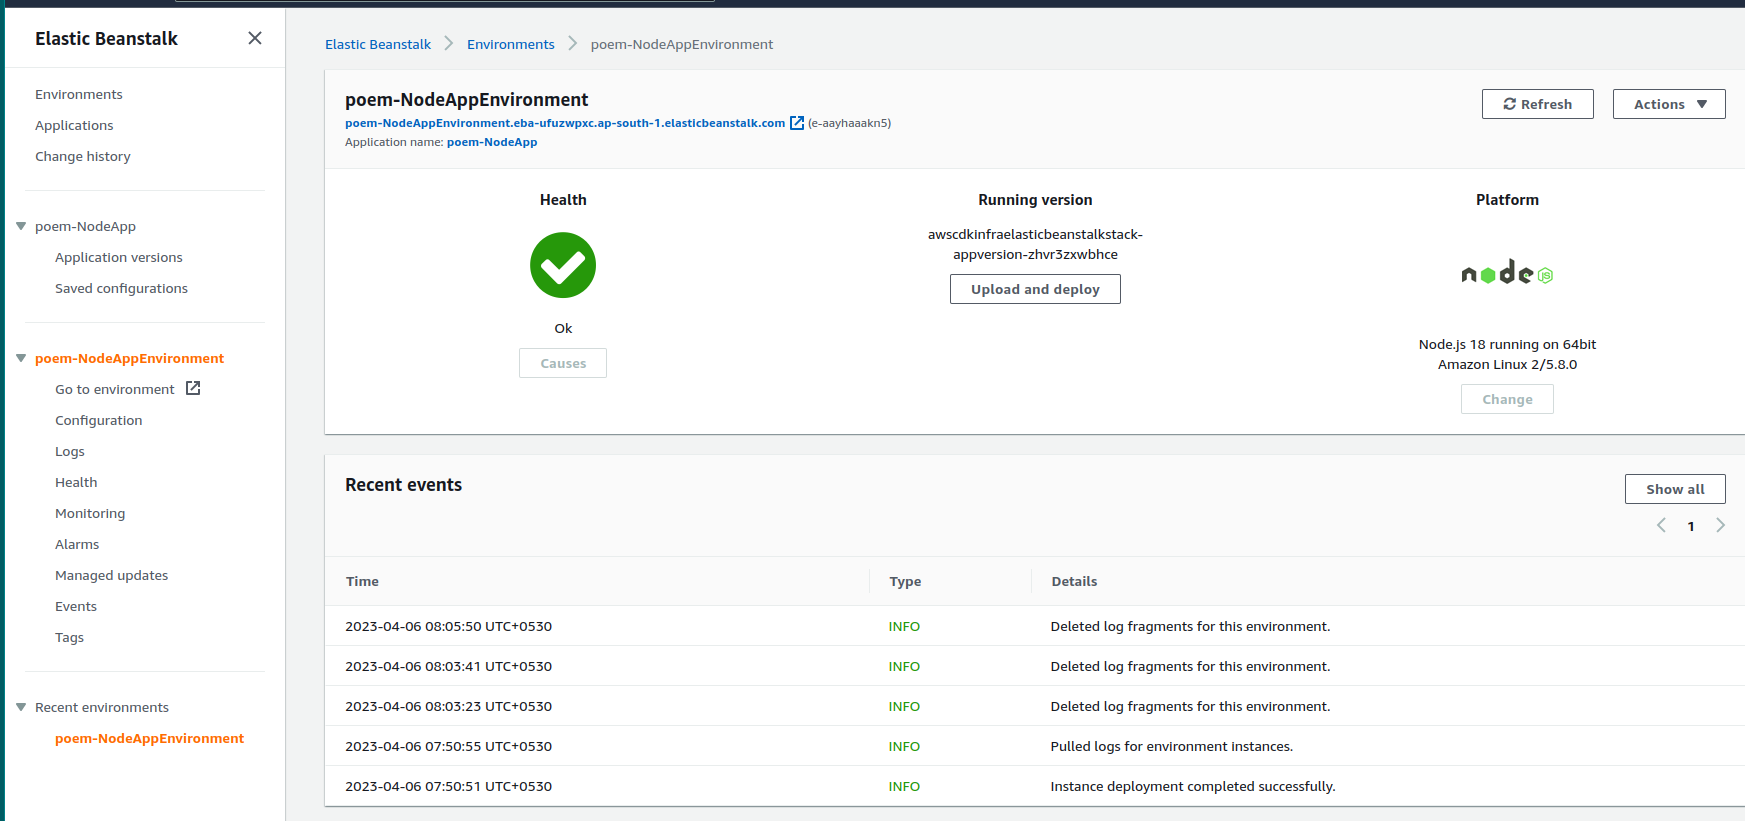
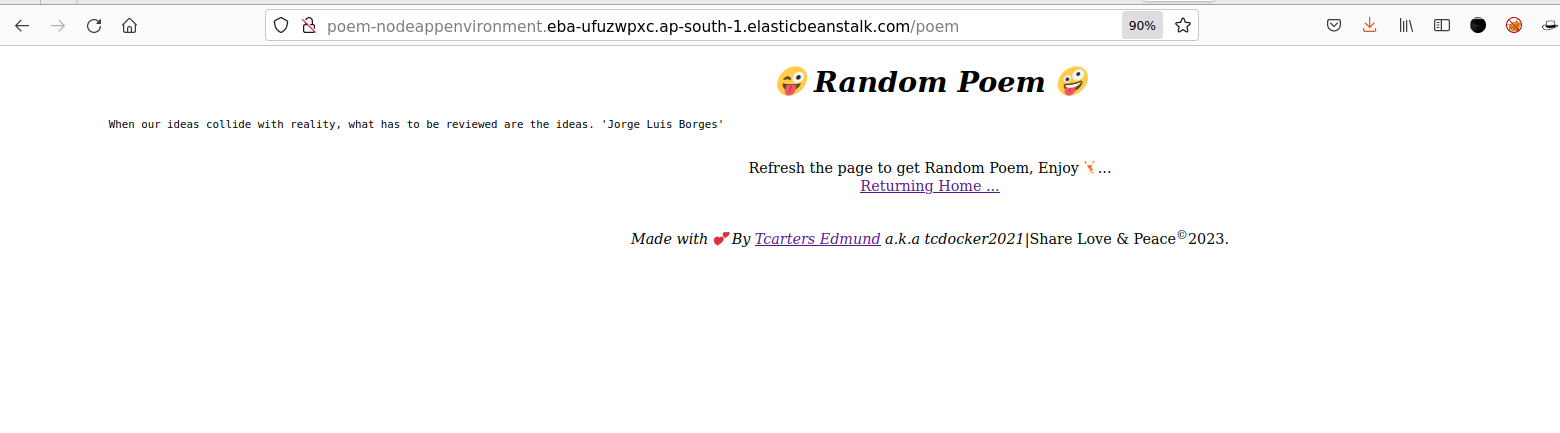
- After clicking the ELB App URL presented on the Elastic beanstalk page, we can see our Node Application available:
Step 5: Clean Up our Resources
- We are running on Free tier , and to avoid charging , we have to destroy and clean our environment. So
- So to clean/remove our Infrastructure, we just have to run :
cdk destroy

- All the Infra code is available in my gitHub Repository at: aws-cdk-InfraELB
CONCLUSION
-
That is how, we can create & deploy an Infrastructure on AWS Cloud by using AWS CDK benefits.
-
Time to take a Coffee & See you in a next InfraRel project 🫡 !!!